Hydroponics Cannabis Growing Guide
UncategorizedIt doesn’t matter if you grow indoors or outdoors, you have several different options when it comes to growing cannabis at home and one of these options is hydroponics. This futuristic-sounding method can be the best solution in some cases but most growers tend to stay away from it due to seeming harder than regular methods. If you’re one of those interested in growing hydroponically but need that extra push to start, here’s a hydroponic cannabis grow guide with all you need to know before starting setting up your hydro setup!
1. What Is Hydroponics?
Hydroponics refers to a soilless growing method; Basically growing cannabis (or any other plant) in an inert substrate and feeding nutrient solutions. This may seem complicated and expensive but in reality, you can adventure into cannabis hydroponics without spending thousands of dollars.
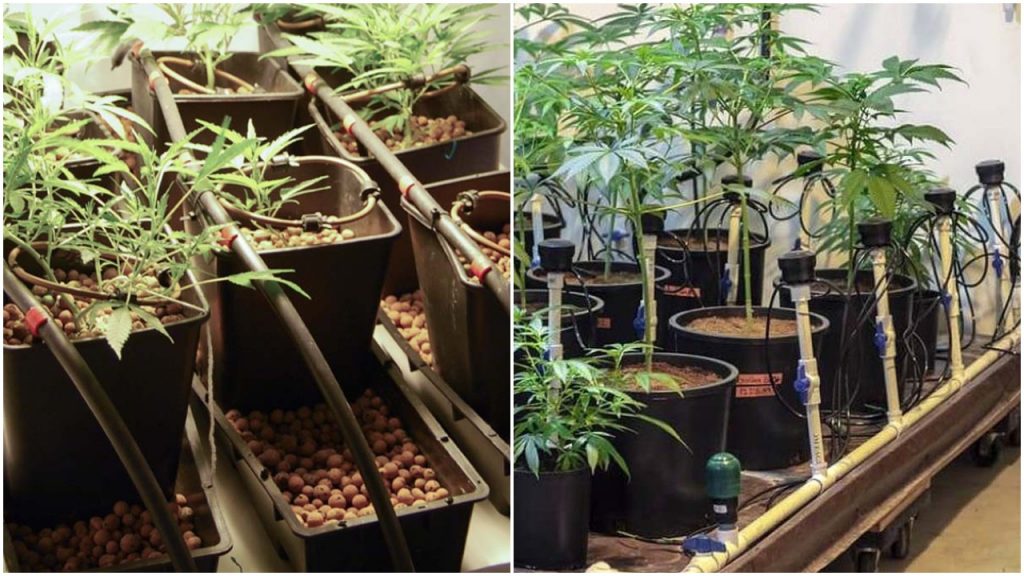
Obviously, you can make it as complicated as you want to but you don’t need a sophisticated setup to grow hydroponically, all you need is a couple of pots filled with any type of inert substrate and you can benefit from the multiple advantages of growing hydroponically.
2. What Are The Benefits Of Hydroponics?
Besides the two most obvious benefits of not needing to buy soil and more control over what your plants eat, there are several other advantages of growing cannabis hydroponically, they are:
Use Less Water
In places where minimizing water usage is crucial, you can use recirculating hydroponic systems. This means that you can opt for hydro setups that recycle water, allowing you to use the same water for up to 3 weeks.
Saves space
In general, growing hydroponically takes 20% less space than growing in soil due to the roots being directly exposed to the nutrient solution because of this, they don’t need to stretch too much in order to get to the nutrients and can grow relatively smaller while the plants grow much, much bigger.
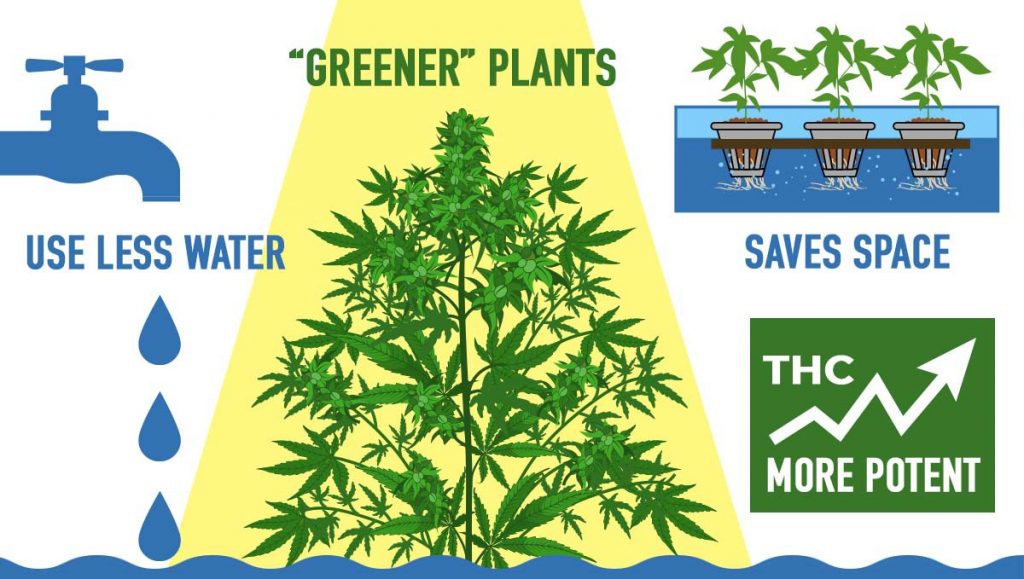
“Greener” plants
If you do everything properly and keep your grow space clean, there shouldn’t be the need to use pesticides or additional products due to bugs being attracted to organic matter (such as what’s present in the soil).
More potent
In most cases, hydroponically-grown cannabis can be much potent than soil-grown cannabis due to having more precise control of what the plants absorb. This doesn’t mean that you will have a better harvest all the time, but doing it correctly increases the chances of getting better yields and a better quality of the buds.
Now that you know that growing hydroponically can save you water and space among other things, there shouldn’t be a doubt if hydroponics is a good way to grow cannabis but due to being extremely precise, there are a couple of drawbacks, especially if you’ve never grown cannabis before.
3. What Are The Drawbacks Of Hydroponics?
Apart from having to learn the basics, there are a couple of things you need to know before starting your hydro grow-op.
Can be expensive
As mentioned, you can start growing hydroponically without having to spend too much, all you need is an inert substrate, such as rockwool or coco fiber, and a couple of buckets but if you want to upgrade your setup and take it to the next level, you will have to spend at least $100-150.
Close supervision
By growing in a hydroponic setup you will definitely save a lot of time and effort but it’s no set and forget. Hydroponic setups need constant monitoring because, for example, if one plant gets a disease, it’s most likely all the plants get sick. Also, algae and harmful microorganisms thrive in wet conditions so you have to keep the temperature and humidity in check at all times.
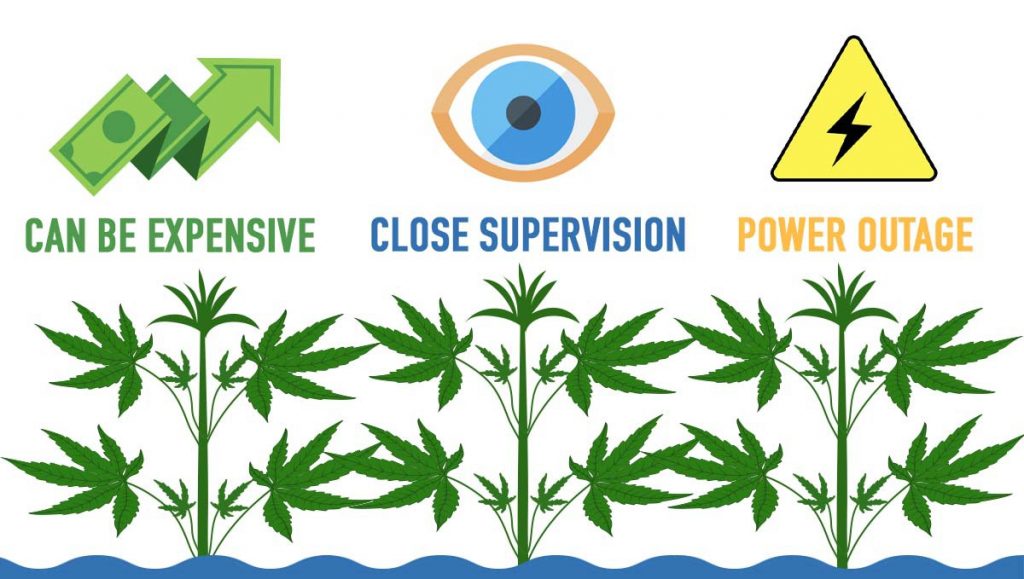
Power outage
A hydro setup depends on electricity to move the water from one reservoir to another so a power outage can end up killing the whole crop because your plant can only survive a couple of hours in stagnant water, so depending on your setup, it may be a good idea to have a small back-up generator.
4. Hydroponics Indoor and Outdoor
Whether you are growing indoors or outdoors, or a lot of plants or just a few, there are a couple of good reasons why hydroponics is typically done indoors or in a greenhouse. For example, the ability to maintain a perfect environment for the plants, taking less space, and the reduced susceptibility to bugs. But despite these advantages, many growers are taking hydroponic systems outdoors.
Having said that, there’s no best way to grow in hydro, using this method either indoors or outdoors has its pros and cons, so it’s impossible to know what’s best in general. In order to know the best option, you need to see which one offers the best solution for you and your plants.
4.1 Pros and Cons of Growing Hydroponically Outdoors
Despite being designed for indoor growers, hydroponics can be the solution to a lot of problems such as lack of land suited for cultivation and water shortages.
Pros of growing hydro outdoors
For those without a reliable source of water, a hydroponic setup can be of great help because it needs way less water. To put it in perspective, you can get the same or even better results by using 5 – 10% of the water used by traditional cultivation methods. On top of that, hydro setups can be customized to fit anywhere, so you can hang them, stack them or configure them any way you need to, allowing you to get the same yields using less water, less nutrients, and in a smaller area.
Cons of growing hydro outdoors
Despite the several benefits, the initial cost of setting up a hydro setup is the main disadvantage. If you’re planning to start simple, then you won’t spend that much but the larger the hydro system, the higher the coast. On top of that, automating your hydro setup adds extra costs so if you want to do it properly, you’ll have to spend quite a bit. Have in mind that we’re not talking about thousands of dollars, but the average home growers will have to spend at least $200-$300 for a relatively small hydro setup outdoors.
Unlike hydro indoors, outdoors growers cannot control the conditions such as temperature and humidity and depend on the sun to get a good harvest, but sunlight can cause problems after a certain period because sunlight can damage the hydro components, especially if they’re plastic and not UV protected and this can increase the costs even more.
Intense sunlight can not only damage the reservoirs but also causes temperatures to rise, this means that you’ll have to modify a typical hydro system so it can run as smoothly as possible in the specific conditions. Because of not being able to control the conditions outdoors, growers may not be able to grow cannabis in cold climates.
5. Choosing A Growing Medium For Hydro
There are several different mediums to choose for growing hydroponically, the most common are:
Rockwool
Rockwool is made from rock fibers, similar to fiberglass. This medium has been used for a long time but some growers prefer staying away from it because Rockwool may potentially be hazardous if the fibers break down. When this happens, the dried Rockwool dust can be inhaled and harmful, depending on the quantities you’re exposed to. On the other hand, Rockwool retains water super efficiently and due to being inert, the pH will not oscillate if it’s been watered thoroughly with pH’d water before starting the grow cycle.
Clay Pellets
Clay pellets or clay pebbles are relatively small orange clay balls that are perfect for providing oxygen for the roots, it also retains water and nutrients very well while providing the ideal drainage.
Coco Fiber
Coco fiber or coco coir is basically ground-up coconut fibers and is one of the most popular choices for hydro growers due to being relatively cheap. Coco fiber retains a lot of water and allows ideal oxygenation in the root zone, serving as a perfect medium from seed to harvest.
Perlite
Perlite is basically volcanic glass mixed with air, the result is a material similar to clay pebbles. When growing with traditional methods, perlite can be mixed in soil to improve oxygenation in the root zone due to the high oxygenation capabilities so when growing hydroponically, perlite is used as a way to keep good conditions in the root zone although you will probably need to water more often because perlite does not retain water.
Vermiculite
Vermiculite has an appearance similar to perlite but it has great water retention capabilities instead of oxygenation. This means that vermiculite can hold too much water and cause problems so it’s highly recommended to mix perlite or mix vermiculite with other types of mediums to provide enough oxygen to the roots.
Air
And last but not least, air. Cannabis roots need water but they also need oxygen to grow properly so, in this type of hydro setup, the roots are hung in mid-air while they’re misted with water and nutrients so there’s no need to worry about overwatering or lack of oxygen. The downside is that this type of setup needs to be automated and the power should stay on at all times because a power outage can kill your plants in as little as 3 hours.
6. Nutrients For Hydroponic Cannabis
When growing hydroponically you can, and should, control the nutrients provided and the pH level because pH levels are what allow cannabis plants to absorb nutrients. A great benefit of hydro is that the nutrients are provided directly to the roots without the roots having to go after them, allowing that extra energy to be saved and redirected, which usually results in bigger and stronger plants. So, in order to get better results the pH level should be always on point.
This is the main difference when talking about hydro and soil growing, for example. Soil has its own nutrients and beneficial microorganisms that can supplement your plant if you fail to feed it properly, so even if you don’t feed your plant your plant will still grow although it will not reach its full potential. But when growing in hydro you are responsible for providing all the food so failing to feed your plant will kill them.
Despite the delivery method being different, all cannabis plants need the same nutrients and when growing in hydro it’s no different. Cannabis plants in hydro need Nitrogen (N), Phosphorus (P), and Potassium (K) to survive, these nutrients called NPK are the macronutrients. Apart from the macronutrients, cannabis also needs micronutrients that help plants develop correctly, these micronutrients are Boron, Copper, Calcium, Zinc, Sulfur, Magnesium, and Iron.
Most hydroponic nutrients are designed for specific stages of plant growth, this means that in the vegetative stage you will have to use a fertilizer that provides more Nitrogen and switch it up for flowering and provide more Phosphorus and Potassium.
Hydroponic nutrients come either in powder form or in liquid form in a bottle, powdered nutrients are usually cheaper but may be hard for beginners so it’s better to stick to liquid nutrients if you’re a beginner.
When it comes to mixing the nutrient solution, it’s essential to check it’s safe for your crop so you need to check the EC and the ph before feeding it to your plants. EC (aka electrical conductivity) serves to know how strong the nutrient solution is, so the higher the EC, the stronger the nutrient solution. Also, it’s important to know that younger plants need less nutrients when compared to flowering plants so you need to adjust the EC for each stage of plant growth.
Another common measurement is PPM (aka parts per million) which is another way to know how strong your nutrient solution is but don’t worry, both serve the same purpose and you can even make the conversion from EC to PPM and vice-versa without a problem at all. Here’s a basic chart of what the PPM or EC should be during each stage of plant growth.
| Plant Stage | EC levels | PPM levels |
| Seedlings | 0.5 – 1.0 | 100 – 250 |
| Easly vegetative stage | 1.0 – 1.5 | 300 – 400 |
| Late vegetative stage | 1.5 – 2.0 | 450 – 700 |
| Early flowering stage | 2.0 – 2.5 | 750 – 950 |
| Late flowering stage | 1.5 – 2.0 | 1000 – 1600 |
Remember that there are different EC and PPM scales so make sure to know which one to use before mixing the nutrient solutions. Also, have in mind that the pH level should be checked after mixing the nutrient solution, so once you’ve checked the EC or PPM, you should check the pH and adjust it (if necessary) between 5 – 6.0. If the pH levels are too high or low, your cannabis plants will not be able to absorb nutrients and will show signs of nutrient deficiencies.
A good tip for hydroponic cannabis growing is to continue monitoring the nutrient solution at least twice a day and make sure the EC or PPM and pH are on point.
In short, all of this means that there is basically no room for error so you should look for 100% water-soluble high-quality products if you want to grow healthy and robust plants. Basically, it doesn’t really matter what brand you use, just have in mind that you cannot cut corners when growing hydroponically. Your hydro setup should run properly, the growing mediums should be clean and the nutrient solution should be accurate if you want to get excellent yields and make the most out of your investment.
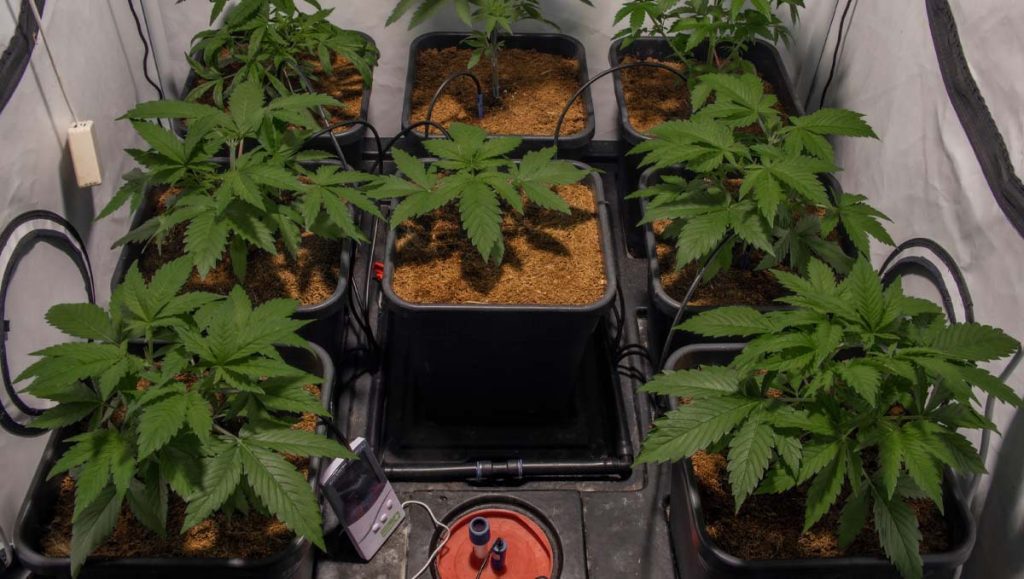
7. Setting Up Your Hydroponic System
There are multiple different hydro setups with different benefits. Different materials provide slightly different pros and cons, so it’s highly recommended to choose the best setup and growing medium for your specific growing conditions.
Remember that you don’t necessarily need to build the hydro system yourself, you can find a lot of plug-and-play systems with everything you need to start asap. Anyways, we’ve prepared an example of what you would need if you were to make your hydro system from scratch, just remember that it’s just an example and may not be the best solution for your conditions but it can serve as a base for you to modify it and adjust it to better suit your grow space.
First of all, here’s what you’ll need to start growing in an automated hydro setup. Have in mind that this is just what you need for the hydro system itself and does not include fans, filters, lights, etc… Having said that, this is what you’ll need:
- One 3 to 5-gallon bucket for each plant;
- Enough clay pellets to fill the buckets;
- One 2.5 x 3cm rockwool cube per plant,
- Grow table;
- Water reservoir;
- Water pump;
- Air pump;
- Airstone;
- Plastic tubing,
- Drip lines and drip line emitters.
Once you have everything, you can follow these steps to begin building your hydro setup.
Step 1
A water reservoir can be basically anything, so you can use big buckets or plastic storage boxes as long as it can hold enough water for all the plants. So the first step is to place the water pump and air stone in the water reservoir and connect the air pump to the air stone with a piece of plastic tubing. Also, place the water pump in the reservoir and connect a piece of plastic tubing from the water pump to the grow table.
Step 2
The next step is to set up the grow table. The grow table serves to catch the runoff water and return it to the water reservoir so your grow table needs to have a low point where the water falls to, and at this low point you can either just have a bucket and return the water manually or use a water pump to transfer it to the water reservoir automatically.
Step 3
Once you have the grow table ready, make sure to soak the pellets for 24hs to hydrate them and once they’re soaked for 24 hours you can go ahead and landfill the buckets with the clay pellets. Don’t forget that the buckets should have drainage holes at the bottom to allow water to drain, so if the buckets don’t have them, you’ll have to drill them yourself. Make sure the holes are not too big so the clay pellets don’t pass through.
Step 4
Grab the tubing you placed on the grow table on step 1 and run it across the whole table, making sure there’s a part of the tubing on top of each bucket. Once the tubing is in place, puncture a hole on the tubing and attach the drip line emitters. Make sure to play around with the position of the pots and tubing before puncturing the holes, having in mind that the drip line emitters is where the water will come out.
Step 5
Once everything is in place you can run the system just to see if everything is working as it should. There shouldn’t be water standing anywhere, just in the low point (usually in the center of the grow table). Also, make sure to check the system is running properly and that the buckets and grow table drains the excess water correctly.
Step 6
Once everything is ready you can go ahead and mix your nutrient solution in the water reservoir and check the pH, temperature, and everything else, then it’s just a matter of starting the seeds of clones in the Rockwool cubes and making sure the water is dripping on Rockwool and roots of the plants.
And remember that this setup can be expanded and modified if you want to make things more efficient or want to grow more plants, all you need to do is add one more water pump and run the tubing just like you did the first time.
It may seem hard at first but once you have everything set up, you’ll realize how simple it is and you’ll definitely get the hang of it.